As promised, I’m back today to talk a little about the process of baking in tin cans. It’s super simple, but I still have a few tips.
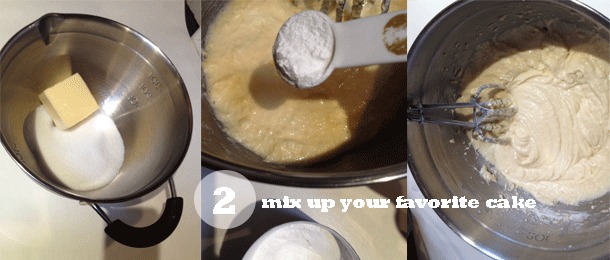
I used this recipe for plain vanilla cake, but you could use your favorite recipe. This one was a little crumbly. I’d use a pretty sturdy one.
Here we go!
(Oh, and please try to overlook the photos, taken with my iphone in our teeny, dark kitchen that never gets natural light.)
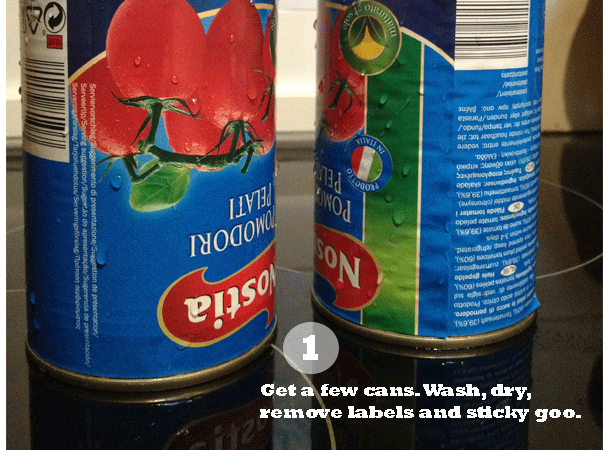
You can use any tin can, just make sure it doesn’t have a coating on the inside. Wash it out and dry it, remove the label and the glue that holds the label on!
The recipe I used made a little more than two 16 ounce cans of cake. You could probably squeeze three cans out of that recipe. You’ll see why in a second!
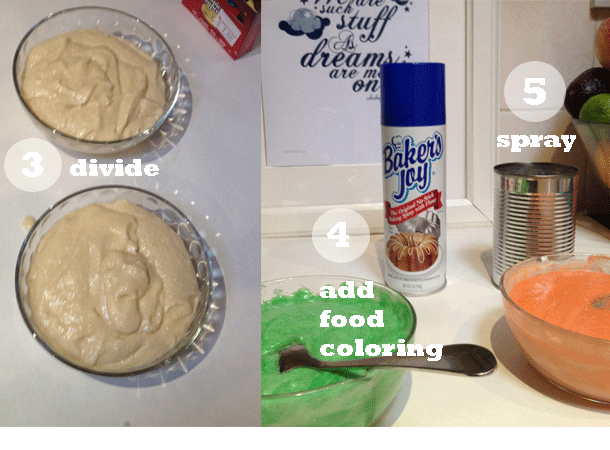 I used liquid food coloring (specially imported from America because I cannot find it here to save my life!), to make green and orange batter. I might add an extra tablespoon of flour next time because adding the food coloring makes the batter quite runny.
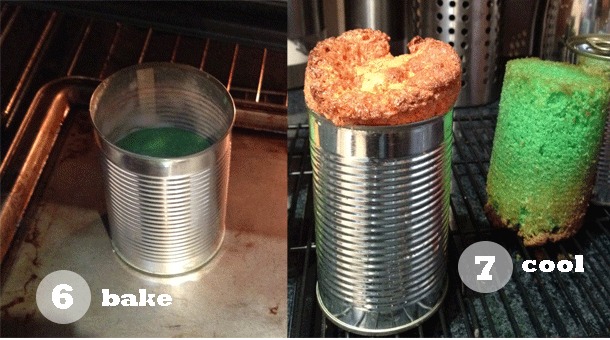
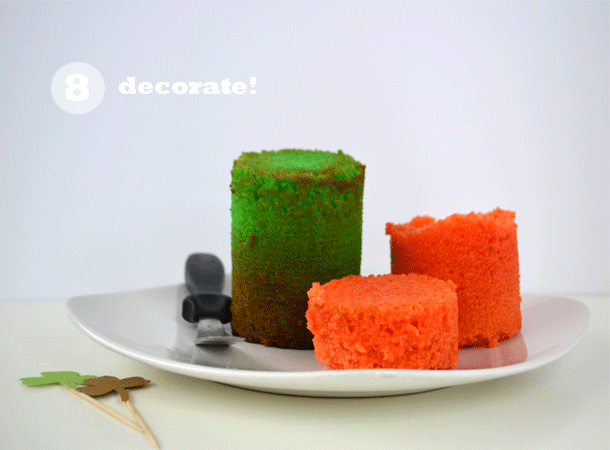
See how the cake batter overflowed? I’d recommend only filling the cans halfway. I filled mine about two thirds and it was a little too much! But not to worry, I just whacked off that crusty top (and “taste tested” it) and everything inside the can was perfect.
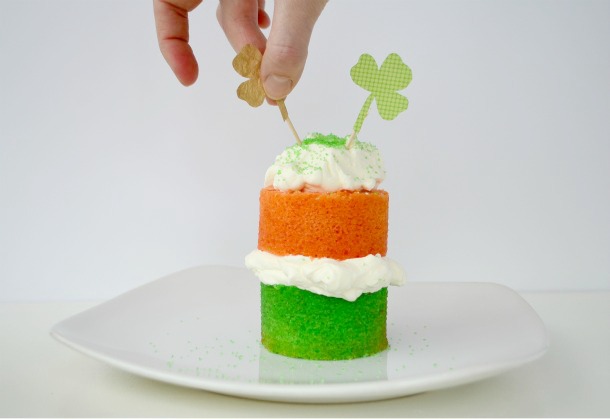
Check out this post on how I decorated the cake. Very simple and oh so cheery!

2 Comments
Fun!!!
Baking in a tin can is a fantastic idea! I actually have baking rings for things like this, but your solution is much more affordable and practical.